Java Drawing DrawTop

Language

JP  US  UK


User's Guide Example-2

 H. Jyounishi, Tokyo Japan
 

Frame (Index), No frame                 version:0.3(latest)  

Summary: This page describes the examples of creating a private ruler and protractor.
Table of contents: Example 2.1 Creating a ruler, Example 2.2 Creating a protractor

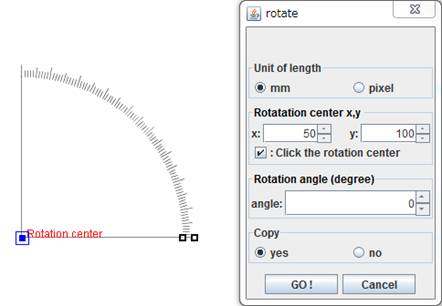
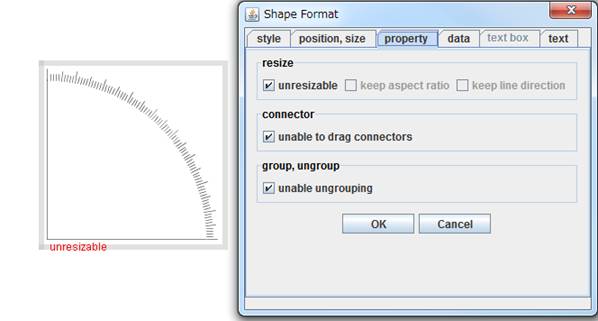
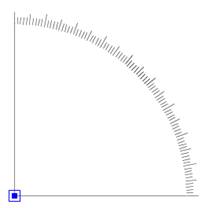
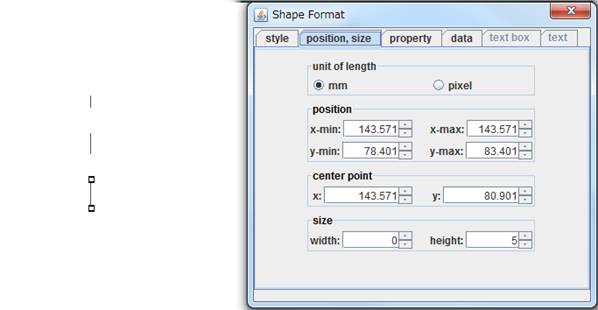
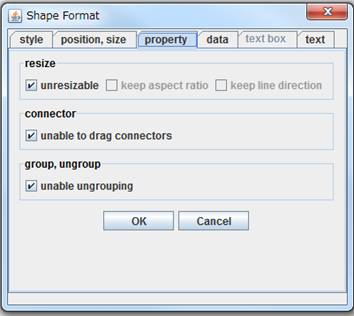
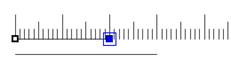
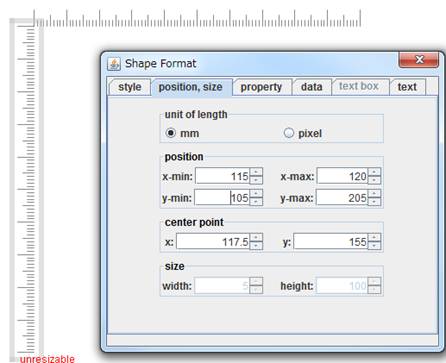
Example 2.1 Creating a private ruler
=> User's Guide Selecting Shapes Simple examples of creating accurate figures

Step1 Create scale marks

Creates three lines and specify each line length using the Shape format dialog.


Figure_(a) position, size tab

Step2 Translate each line using "translate" dialog.

Figure_(b)

Figure_(c) Finished.

Figure (d) Remove unnecessary lines.


Figure (e) align bottom

Step3 Set special properties.
Figure (f) The private ruler Figure (g) Shape format dialog, property tab

Step4 Usage of the private ruler.

(1) Create lines of accurate lengths

You can easily create a line of arbitrary length using the horizontal ruler and the function of selecting a point on a shape's boundary.

A line of 30mm A line of 20mm


(2) Create the horizontal and vertical ruler.

Create a vertical ruler using rotate operation and combine it with the horizontal ruler by using the property tab of the Shape format dialog.

(3) Create sloping lines.

You can create a line of arbitrary slope using the horizontal, the vertical ruler and and the function of selecting a point on a shape's boundary.


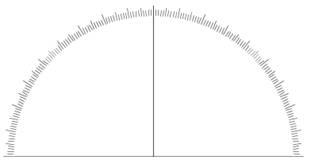
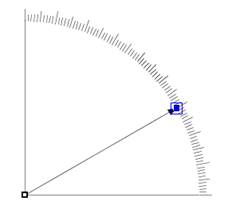
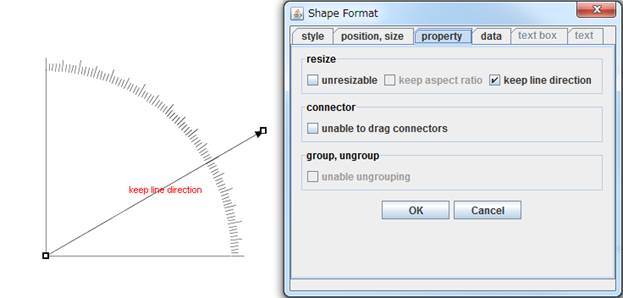
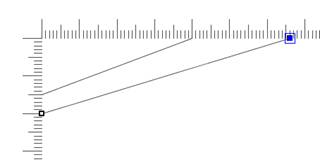
Example 2.2 Creating a private protractor return=> page top

Step1 Create scale marks.

Create the scale marks by rotate command. Click "Click the rotation center" check box and click on then end point (
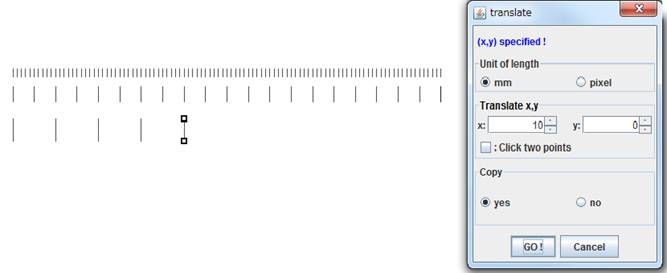
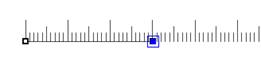
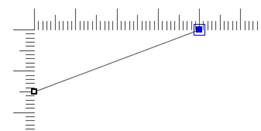
) of the x-axis base line and click Go! button. Then the scale marks can be created accurately.

: marks => Connection point

Step2 Set special properties.

Grouping the sacle marks and set the following property to the group.

You can create a 180 degree protractor using the flip command.

Step3 Usage of the protractor

You can create a line of an arbitrary angle and extend it without loosing its direction.


A start point of a line The end point of the line
Set "keep line direction" property to the created line using the property tab of the Shape format dialog,
then you can resize the line without loosing its direction.


Copyright (c) 2009-2013
All other trademarks are property of their respective owners.